Tag Archives: shading

Disney BRDF

Implementation of the Disney principled BRDF

After reading the papers from the 2012 siggraph shading courses I really wanted to try the BRDF described by Disney. It’s possible to use the awesomeopen source tool BRDF explorer, but I really wanted to try it in my own renderer.

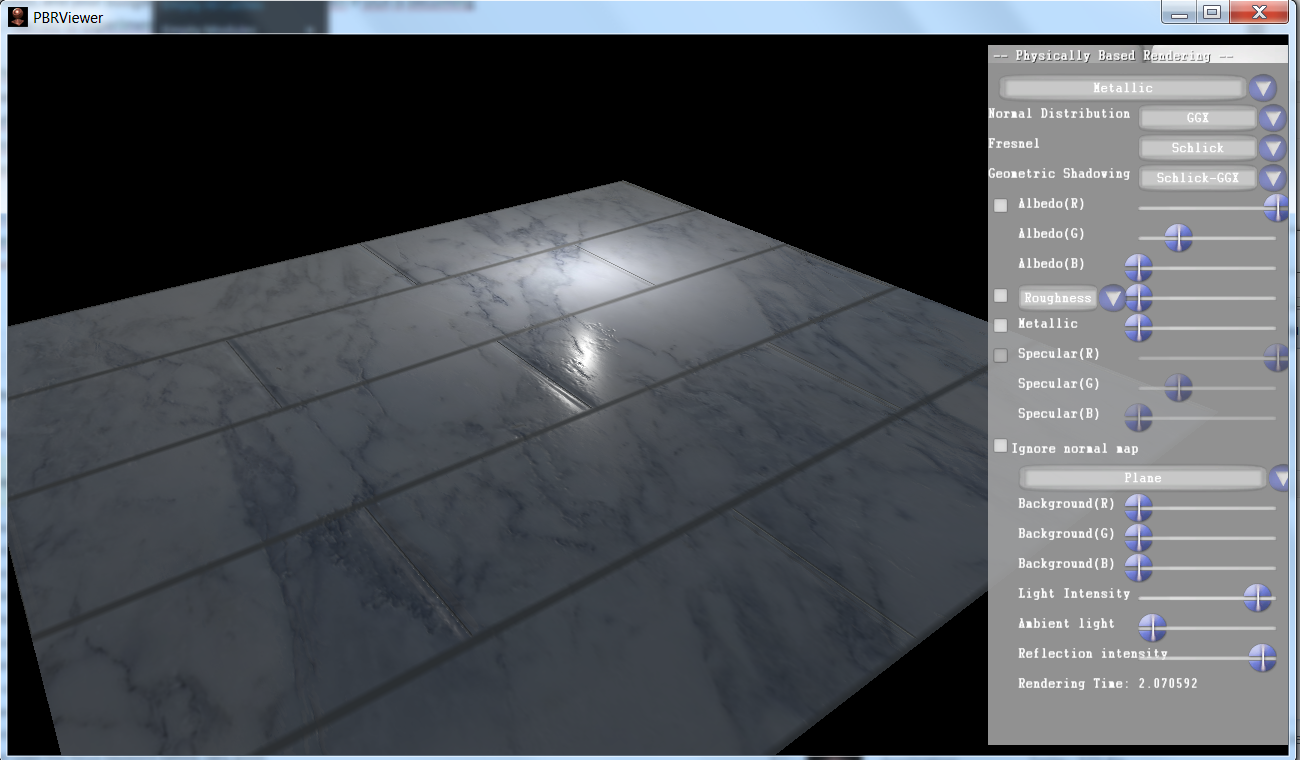
You can download it here: PBRViewer.

In his talk, Brent Burley describe the BRDF adopted by Disney and used for every materials in Wreck-it Ralph, except for hairs. He also explain how they come up with this BRDF, the tools they used, etc. The course notes are full of informations, it’s really something anyone interested in physically based shading should read.

I already wrote a bit about the Disney BRDF in a previous post, but I’ll just remind the set of rules they choose to follow:

  1. Use intuitive rather than physical parameters.
  2. Use as few parameters as possible.
  3. Paramters should be zero to one, remapped over their plausible range.
  4. Parameters should be allowed to be pushed beyond their plausible range where it makes sense.
  5. All combinations of parameters should be as robust and plausible as possible.

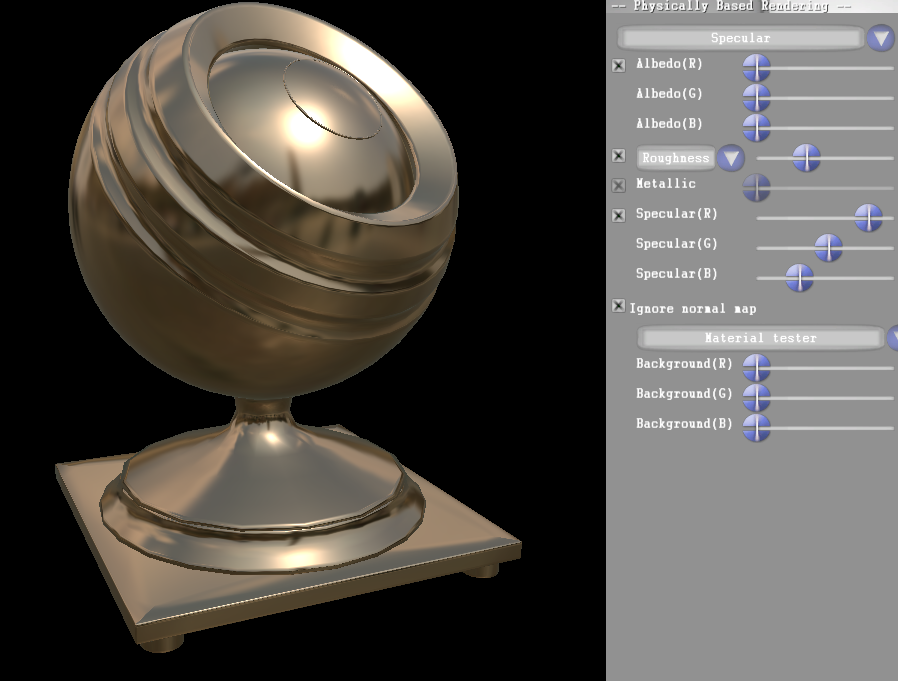
The BRDF is defined by a base color, and 10 scalar parameters:

  • Subsurface
  • Metallic
  • Specular
  • Specular tint
  • Roughness
  • Anisotropic
  • Sheen
  • Sheen tint
  • Clearcoat
  • Clearcoat gloss

https://www.worldhumorawards.org/uncategorized/17owp2r9 They are described in the slides, and in the viewer it’s easy to see the impact of each parameters on the shading.

Purchase Tramadol Online Cheap That’s a lot of parameters more than what we can afford in our games, and even if they are quite easy to understand it’s still a bit overwhelming at first. But on the other hand it gives a lot of control.

Disney principled BRDF
The anisotropic parameter

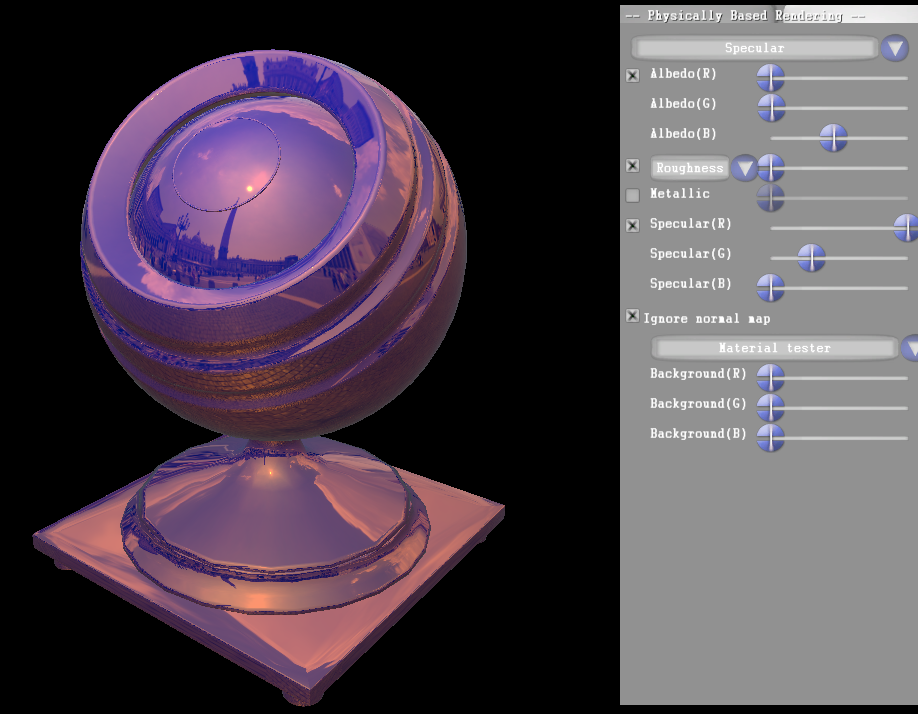
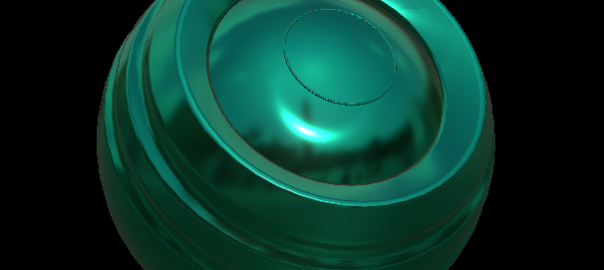
https://www.lcclub.co.uk/j5gzk51zfm The anisotropic parameter is really cool, and it’s something that could be great in a game (but it’s tricky to implement as it requires the tangent and binormal in the GBuffer). In my implementation it looks a bit strange because it should change the specular reflection. I need to work on that.

The sheen parameter is very subtle in BRDF explorer, and I’m not sure it’s working at all in my implementation. I’ll need to check  that, and I will upload a new version if I found a bug.

Tramadol Legal To Buy Online I added this BRDF in my renderer as a new workflow. Unlike the metallic and specular workflow the “Disney” workflow use a completly different code path, so the normal distribution, fresnel and visibility terms can’t be changed.

Disney principled BRDF
Subsurface parameter from 0 to 1

Textures are not supported yet for the disney’s parameters, only base color, normal roughness and metallic textures are supported for now. I’ll add the other parameters later.

Tramadol Buy Uk The updated version of PBRViewer can be found here.

Tramadol Cheap As always, if you have any feedback, feel free to contact me !

Tweaking the Cook Torrance BRDF

https://www.mominleggings.com/cs6leaol9ol I’m still learning things about physically based shading using my PBRViewer, and this time, I wanted  to be able to experiment the variations of the Cook Torrance BRDF.

https://tankinz.com/ptxoxi6ejq The Cook Torrance BRDF looks like this:

Tramadol Paypal Cook Torrance BRDF


http://countocram.com/2024/03/07/p25890weijj This equation is composed of three distinct terms:

  • F: The fresnel, represents how the reflectivity change at grazing angles.
  • G: The Geometry term, represents the probability that a microfacet will be visible from the light and view directions.
  • D The normal distribution term, defines the distribution of the orientation of the microfacets.

https://www.worldhumorawards.org/uncategorized/3ju3zj8bjl For more infomations you can read the very interesting “Physics and math of shading” by Naty Hoffman. For each term there is more than one possibility, and you can choose according to your need, and your budget the terms of your BRDF. Even if GGX is becoming the new standard, I wanted to experiment the other possibilities.

Brian Karis, while he was doing research on physically based shading for the Unreal Engine 4, listed all lot of variation for the different terms. This wonderful blog post can be found here. I used this references to implement each term in my viewer, so I can directly see the impact of each functions on the lightning, the shader being recompiled automatically when a term is changed.

https://tankinz.com/2v3tgrd7 I also added some other modifications, like beeing able to change the background color, light position, intensity, ambient light and reflection intensity, etc.

Tramadol Mastercard Fedex If you want to try it, you can download it here.

Online Prescriptions Tramadol As always, if you see an error or if you have any feedback, please contact me, as I’m doing this to learn I would be happy to hear from you.

I also made my first step with substance designer, trying to do a marble texture.

https://fotballsonen.com/2024/03/07/cu47um0kzmm Marble

https://worthcompare.com/ibu0bqp18p  

Physically Based Shading, Metallic and Specular workflows

https://giannifava.org/vcf4sglmvb Physically based shading is more and more adopted and even if the core mechanism is pretty much always the same, the workflow may differ from an engine to another.

Buy Cheapest Tramadol For example let’s compare two common ones, often called Metallic and Specular.

The metallic workflow uses a color input, the base color, and two scalar parameters, rouhghness and metallic. On a specular workflow there is two color inputs, an albedo and a specular, and a scalar, the roughness.

In my PBRViewer, I first implemented a metallic workflow, I now added a specular workflow. Here is a brief overview of the differences between those two.

First of all, it’s important to understand the kinds of materials we want to represent in games. They can be divided in two groups, dielectrics (plastics, wood, concrete, etc) and metals. Their properties are very well summarized in the wonderful chart made by Sebastien Lagarde for Dont nod. Here are some interesting facts:

  • Dielectrics material have a monochromatic specular, in a range going from 0.017 to 0.067
  • Metals have a black diffuse, except when they are not pure, they can have a little diffuse
  • Metals have a colored specular


Now let’s get back to our workflows. The specular one is pretty straightforward, each map is directly used,  artist create their own specular and diffuse map. You need to make sure that your artists have a chart and know the propreties of each kind of materials to have a coherent result. It’s a lot of control, but it’s easy to break.

Specular workflow
Specular workflow. As you can see on the sliders, the diffuse is set to 0, and the color of the material is given by the specular tint.

On the data side, it’s 7 channels (diffuse rgb + specular rgb + roughness) to store in your GBuffer (for deferred rendering). It’s not awfull, but it’s pretty high, especially if you look closer. For dielectric you only  have a greyscale specular, which still takes three channels, and for metals the diffuse is mainly black. That’s a lot of space wasted. The metallic workflow allow you to avoid that.

Disney introduced in their siggraph talk in 2012 their “principled” BRDF which is based on the following rules:

  1. Use intuitive rather than physical parameters.
  2. Use as few parameters as possible.
  3. Paramters should be zero to one, remapped over their plausible range.
  4. Parameters should be allowed to be pushed beyond their plausible range where it makes sense.
  5. All combinations of parameters should be as robust and plausible as possible.

The metallic workflow follow those rules, by introducing a metallic parameter and by removing the specular texture. The metallic parameter is really intuitive. 0 represent a dielectric material, 1 is a metal one. The values beetween 0 and 1 should not be used, except in some special cases, like a transition beween two materials.

Workflow Metallic
The metallic slider is set to one, so the material is a metal

This parameter is in fact a blend between the dielectric and metallic models. For the dielectric model the diffuse is the base color, and the specular is a constant value we defined. For the metallic materials the diffuse is set to black, and the baseColor is used as specular.

// Lerp with metallic value to find the good diffuse and specular.
float3 realAlbedo = albedoColor - albedoColor * metallic;

// 0.03 default specular value for dielectric.
float3 realSpecularColor = lerp(0.03f, albedoColor, metallic);

As you can see, in the end, it’s transformed into the same inputs, but much simpler to use and more error prone. And it’s only using 5 channels.

Using only these inputs you can’t change the specular value of your dielectric materials, but you can add another one, in the range 0.017 – 0.063, remapped to 0 – 1 to control this value.

Some effects can’t be obtained in a metallic workflow, but as they don’t really have a physical reality you may not want to use them anyway.


A material with a colored specular and a colored diffuse.


This is just an overview of two ways of feeding a physically based renderer, and I think that each engine/studio/project as his own specific workflow. As often it’s all about knowing what you want, what your artists want, the possibilities offered by your engine (deferred/forward). The Disney paper is a very good place to find what kind of inputs can be implemented, but as the Disney BRDF is the next feature I’ll add to my viewer, I’ll talk a bit more about it in an other article.